What Homeowners Should Consider When Planning Weed Prevention
Weeds don’t take days off, and neither should your plan. A smart strategy mixes timing, materials, and habits so new seeds struggle to sprout, and mature plants can’t rebound.
Start by mapping what you’re up against. Your lawn, beds, and hardscape each need different tactics, and a plan that matches your yard’s conditions will save work and money later.
Know Your Weed Pressure And Seasonality
Not all weeds follow the same calendar. Cool-season weeds surge in late summer to fall, while warm-season weeds explode as spring soil warms. Track when you see problem patches and note the species you recognize.
Duration matters as much as start dates. Pre-emergent barriers don’t last forever, so you’ll need to line up timing with their active window. A home gardening reference points out that many pre-emergent products persist roughly 8 to 12 weeks, which helps you back-calculate coverage for your region.
Local microclimates can shift the schedule. South-facing slopes warm earlier, while shaded, damp corners lag. Expect to adjust timing within the same yard.

Choose Between Pre-Emergent And Post-Emergent Strategies
Pre-emergents stop new seeds from sprouting, while post-emergents target weeds you can already see. Most homeowners benefit from using both, placed where each works best.
Be clear about whether you’re preventing seeds from sprouting or knocking back established patches, and choose formulations suited to turf, beds, or hardscape joints. The choice also depends on patience and the time needed for weed killer to work in your conditions – contact products act fast on leaves, while systemic formulas need time to move through the plant. Expect visible change before complete dieback, and build that lag into your calendar.
For beds with frequent planting, lean on hand weeding and mulch so you’re not blocking desirable seeds. In turf, time pre-emergents carefully, then spot treat escapes.
Timing Your First Applications
Soil temperature is a more reliable signal than the calendar. A lawn care guide notes that pre-emergent is best applied when the soil hits the low to mid-50s in spring, then again as it cools in fall. A simple soil thermometer or a local extension dashboard can help you capture that window.
Don’t rush the second pass. If you apply too soon, the first barrier may still be active, and you’ll leave a gap later. Space follow-ups to maintain coverage through the peak germination period in your area.
Rain and irrigation affect timing, too. Light moisture can help activate some products, but heavy downpours may dilute or move them off target. Watch the forecast and avoid applying right before a storm.
Soil, Mulch, And Groundcovers
Mulch is one of the most effective low-tech weed tools. A university guide emphasizes spreading organic mulches 2 to 4 inches deep over clean, weed-free soil for best suppression and moisture retention. That depth blocks light at the soil surface and slows germination.
Even modest layers help. Research from an extension program found that a 2-inch mulch blanket reduced a broad mix of weed species compared with bare soil. Thicker layers boost control, but match depth to plant needs and root crown height.
Consider living mulches and groundcovers where you can. Tight canopies shade soil, intercept seeds, and reduce open space. Choose species suited to your light, water, and foot-traffic patterns so they fill in instead of thinning out.
Irrigation And Mowing Habits
Watering schedules influence weed pressure. Deep, infrequent irrigation encourages turf roots to chase moisture downward, which helps grass outcompete shallow-rooted weeds. Daily light sprinkles often feed germinating seeds right at the surface.
Mowing height matters. A taller, dense canopy shades the soil and reduces space for invaders. Set your mower to the upper end of the recommended range for your grass type, and avoid scalping on tight turns or edges.
Edge zones are weak points. Heat from hardscape and mower wheel ruts thins turf, opening gaps for opportunistic weeds. Hand-weed early, topdress bare spots, and consider edging plants or pavers to reduce overlap.
Budget, Time, And Long-Term Maintenance
Plan for the whole season, not a single weekend. Map tasks on a simple timeline: pre-emergent windows, mulch refresh, spot treatments, and reseeding dates. This helps you buy in batches and avoid mid-season shortages.
Budget for materials that pull double duty. Mulch reduces watering and moderates soil temperature while suppressing weeds. A single well-timed pre-emergent pass can cut later spot-spray costs and labor.
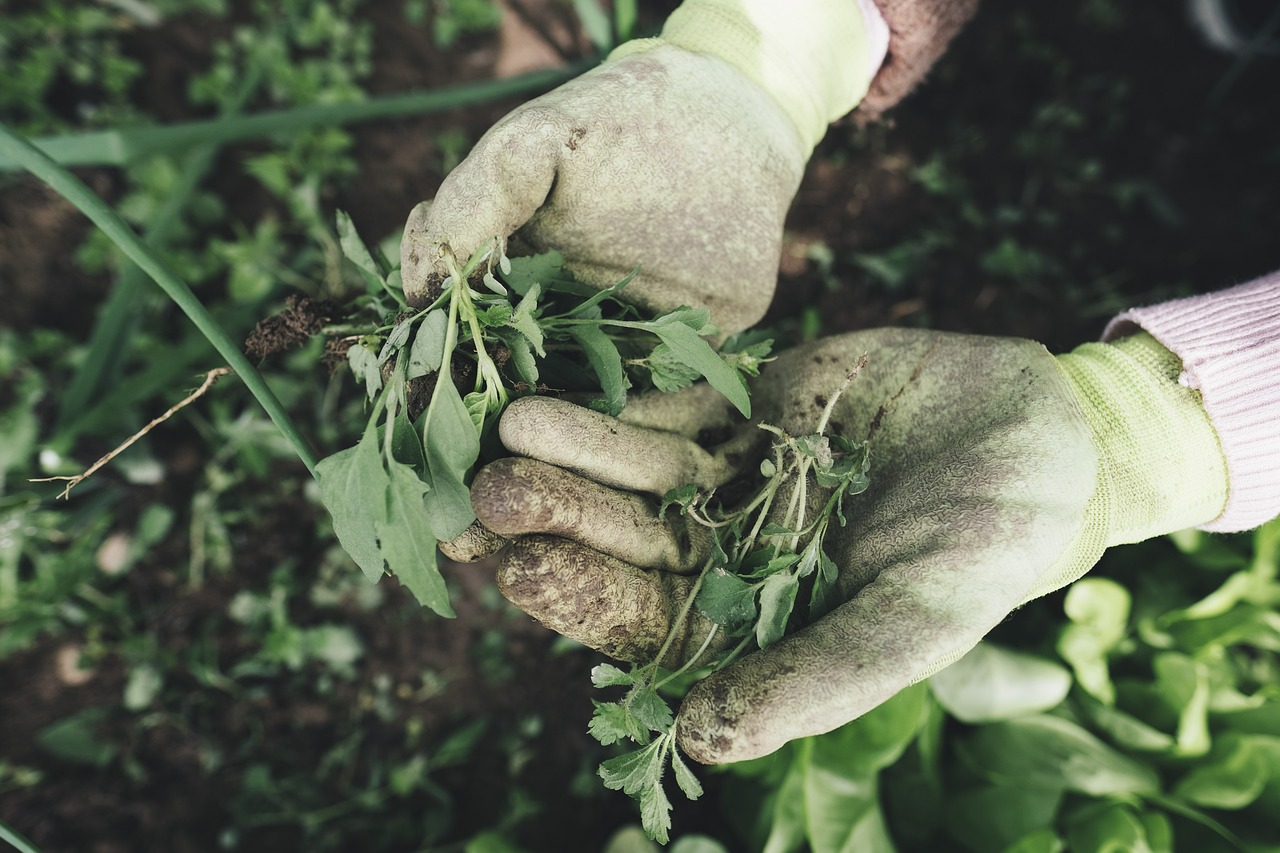
Expect some handwork. Even the best programs need occasional pulling, edging, or hoeing. Keep tools sharp and handy, and walk the property weekly so small patches never become projects.
Regional Adjustments And Microclimate Tweaks
Climate zones influence both weed types and product performance. Coastal humidity, mountain nights, and urban heat islands can each shift germination windows and breakdown rates. Tune your plan to local data and your yard’s quirks.
Beds near walls or driveways warm sooner and dry faster. Use those spots to pilot timing changes or to test whether a different mulch holds moisture better. What works there may not translate to shaded, north-facing beds.
Remember that barriers fade. A home and garden reference notes that most pre-emergent herbicides persist for roughly two to three months, so layer cultural practices like mowing height and irrigation management to extend control without overapplying.
Staying consistent is half the battle. Keep simple notes, adjust as you learn, and protect your progress with timely touch-ups. Your future self will thank you every time you stroll past beds that stay tidy without a scramble.
- Residential Driveway Planning Guide: Materials, Drainage, Installation, and Maintenance - August 20, 2026
- A Flexible Zion National Park Itinerary for Hikers, Families, and Scenic Road Trippers - August 20, 2026
- Persistent Odors Need Source-Level Treatment: FIRESTONE Restoration Provides Professional Ottawa Sanitizing Services - August 20, 2026